Mini-Project: Simple Automation Using Ansible

In this Mini-Project, I implemented configuration management technology using an Ansible and running a simple service, Apache. And I’ll install it on 2 slaves at once. So, what are they?
Configuration Management
Configuration management systems are designed to make controlling large numbers of servers easy for administrators and operations teams. They allow controlling many different systems in an automated way from one central location.
Ansible
Ansible is an open-source software provisioning, configuration management, and application-deployment tool. It includes its own declarative language to describe system configuration.
Ansible is the simplest solution for configuration management available. It’s designed to be minimal in nature, consistent, secure and highly reliable, with an extremely low learning curve for administrators, developers, and IT managers.
How Does Ansible Work?

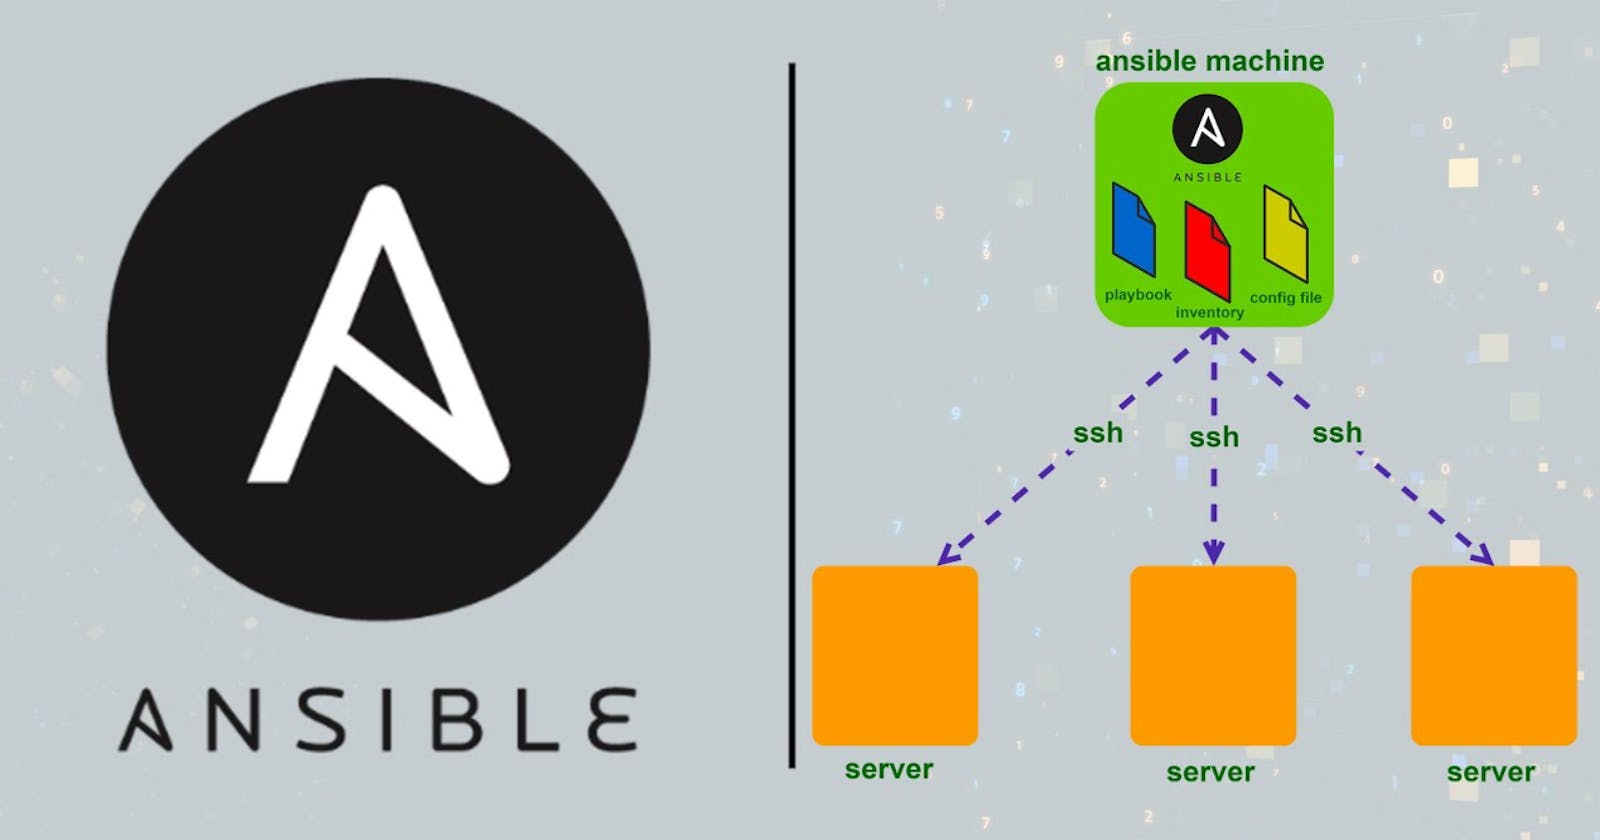
Ansible works by configuring client machines from a computer that has the Ansible components installed and configured.
It communicates over normal SSH channels to retrieve information from remote machines, issue commands, and copy files. Because of this, an Ansible system does not require any additional software to be installed on the client computers.
This is one way that Ansible simplifies the administration of servers. Any server that has an SSH port exposed can be brought under Ansible’s configuration umbrella, regardless of what stage it is at in its life cycle. This means that any computer that you can administer through SSH, you can also administer through Ansible.
Configuration files are mainly written in the YAML data serialization format due to its expressive nature and its similarity to popular markup languages. Ansible can interact with hosts either through command-line tools or its configuration scripts, which are known as Playbooks.
Apache
Apache web server is a popular open-source HTTP web server tool that is widely used for the deployment of webpages. It can be installed in any operating system.
Step 1 — Installing Ansible
To begin using Ansible as a means of managing your various servers, you need to install the Ansible software on at least one machine as a master.
To get the latest version of Ansible for Ubuntu, you can add the project’s PPA (personal package archive) to your system. Before doing this, you should first ensure that you have the package installed.
- Update package
# apt update
- Install a few prerequisite packages
# apt install software-properties-common
- Add the Ansible PPA (personal package archive)
# apt-add-repository ppa:ansible/ansible
- Update the package with the newly added repo
# apt update
- Install Ansible
# apt install ansible
Step 2 — Configuring Ansible Hosts
- Access key
As mentioned previously, Ansible primarily communicates with client computers through SSH. While it certainly has the ability to handle password-based SSH authentication, using SSH keys can help to keep things simple. But, the slaves here using EC2 Instances, so we use a keypair that has applied on to connect over SSH.
- Install a prerequisite packages
# apt update
# apt install python
Because Ansible uses a python interpreter to run its modules, we need to install Python 2 on the host in order for Ansible to communicate with it. Repeat this process for each server you intend to control with your Ansible server.
- Adding client
# nano /etc/ansible/hosts
Ansible keeps track of all of the servers that it knows about through a hosts file. We need to set up this file first before we can begin to communicate with our other computers.

And then add the following line above. It means that we have 2 groups named master that is installed Ansible and slave that have no services. There are vars that mean ubuntu as a user which will be connected by the master because the direct connection as a root user is not allowed. And don't forget the access key, I used the same key on all machine to make it easier.
- Check connection
# ansible -m ping all
Now that we have our hosts set up and enough configuration details to allow us to successfully connect to our hosts, we can try out our very first command.

And done! the slaves have been connected with the master now.
Step 3 — Make an Automation
- Make a directory
# mkdir /ansible
# cd /ansible
This directory is used to store some files for starting new automation. And make sure we already on that directory after it.
- Create a sample web page
# nano index.html
Fill in web content as needed and then name the file with index.html. But I’ll fill it with:
<!DOCTYPE html>
<html>
<body>  <h1>IT WORKS!</h1>
  <h2>Now you’re running webserver from simple automation</h2></body>
</html>
- Create a Playbooks
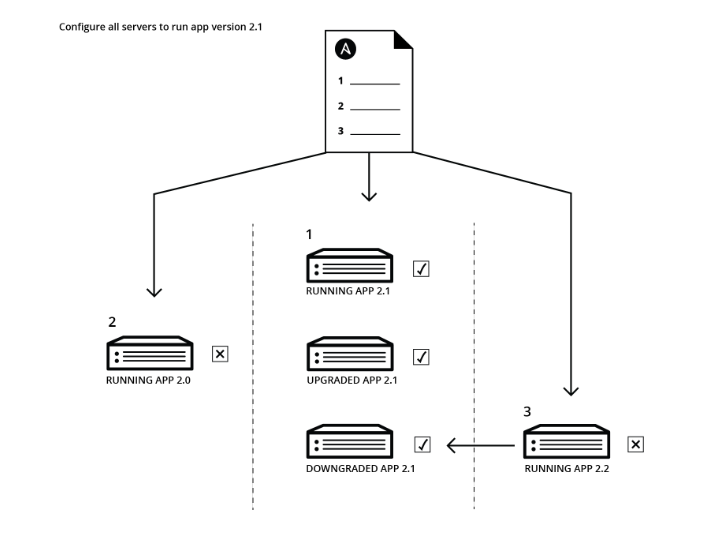
Playbooks are YAML files containing a series of directives to automate the provisioning of a server.
YAML relies on indentation to serialize data structures. For that reason, when writing playbooks and especially when copying examples, you need to be extra careful to maintain the correct indentation.
# nano playbook.yml
The name for the playbooks file does not need to be considered, the most important is the format of the playbooks file, which is .yaml or .yml.
---
- name: Install and run apache
  hosts: slave
  become: true
  become_user: root
  gather_facts: true
  tasks:

    - name: Install service
      yum:
        name: apache2
        state: latest    - name: Create content
      template:
        src: index.html
        dest: /var/www/html/index.html    - name: Run service
      service:
        name: apache2
        state: started
And here I’ll create simple playbooks for our 2 slaves that containing the command for changing user to root because we gonna install a package which is Apache2, copying the web page that we have been made to the directory of web server, and then restarting the Apache2.
- Let's automate!
# ansible-playbook playbook.yml

It took a few minutes to run those tasks on the slaves.
Step 3 — See the Result
- Check the installations
# service apache2 status


- Check the Apache2 service


Check that the Apache service is running by accessing it with a web browser via the IP of the machine.
Thank you for reading!!
~Irfan